Xampp is an open-source, cross-platform (compatible on multiple OS) webserver used to create and test web applications on the local server. It is developed by Apache friends that consist of Apache server, MariaDB (relational database), PHP, and Perl.
X-A-M-P-P expands for X (Cross-platform), A (Apache webserver), M (MySQL database management system), P (PHP programming language), and P (Perl Programming language).
WAMP, MAMP are some other platforms that are specific to Windows and macOS respectively but work the same way.
So to get started, we will have a look at the steps to install Xampp on your system. We are using windows 10 here to install Xampp but you can use any other OS like Ubuntu or macOS to follow along as it is a cross-platform web server.
Step 1: Download Xampp Installer
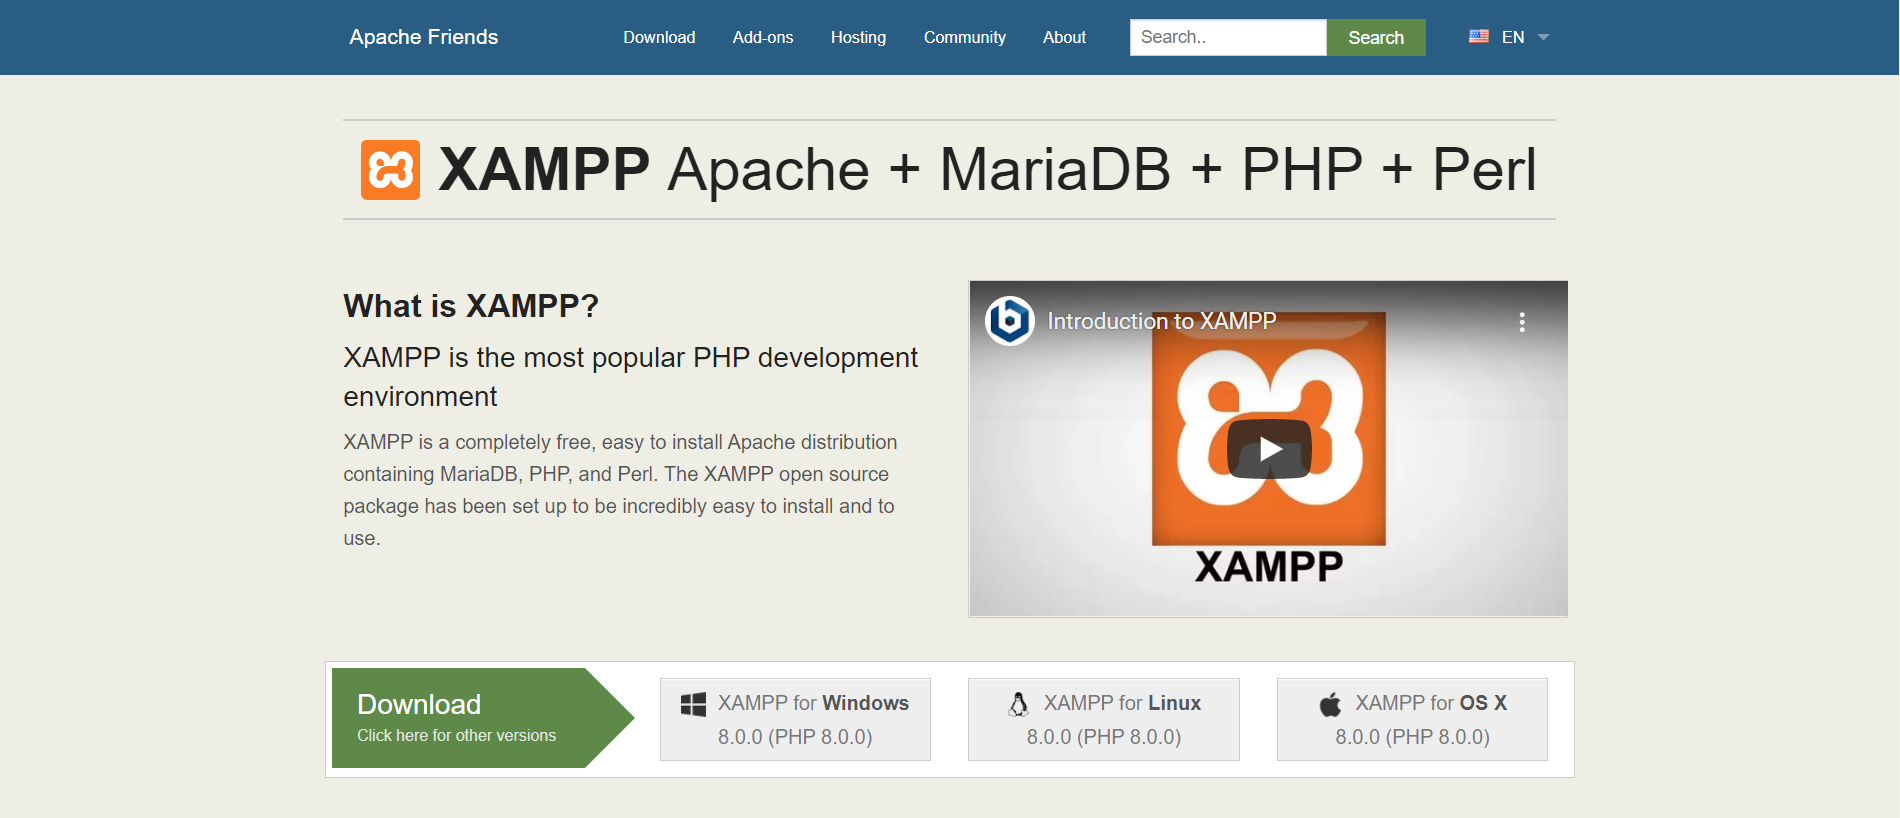
Firstly you need to download Xampp from their official website.
Choose the installer as per your system requirement. Here we will choose “xampp for windows”.
Step 2: Install the downloaded setup
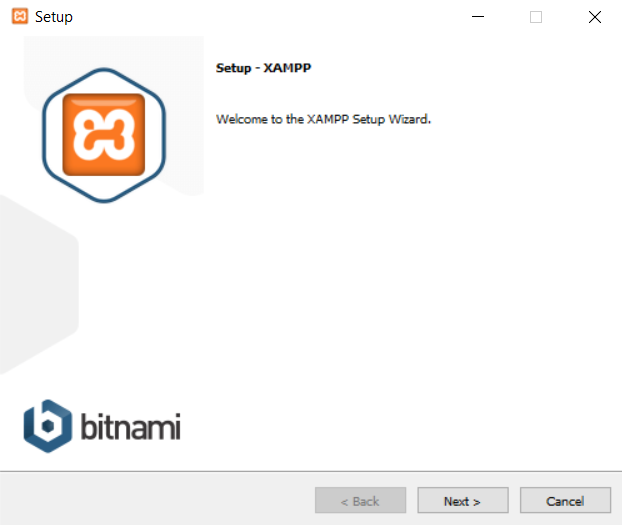
Once your Xampp installer file is downloaded, Double click to install it on your pc or laptop. It will appear like below:
Click next to proceed.
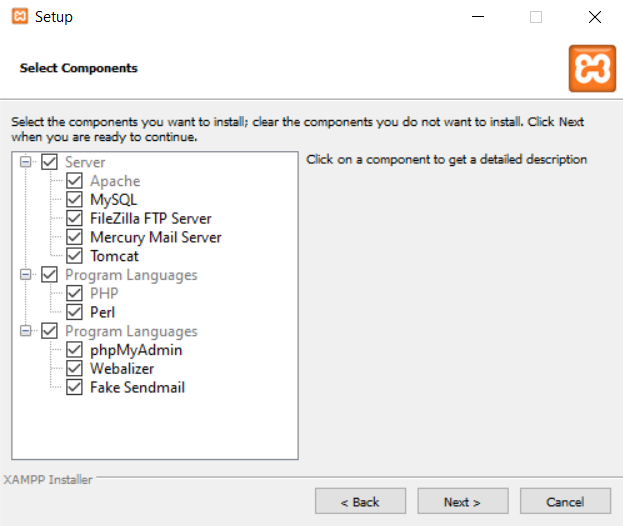
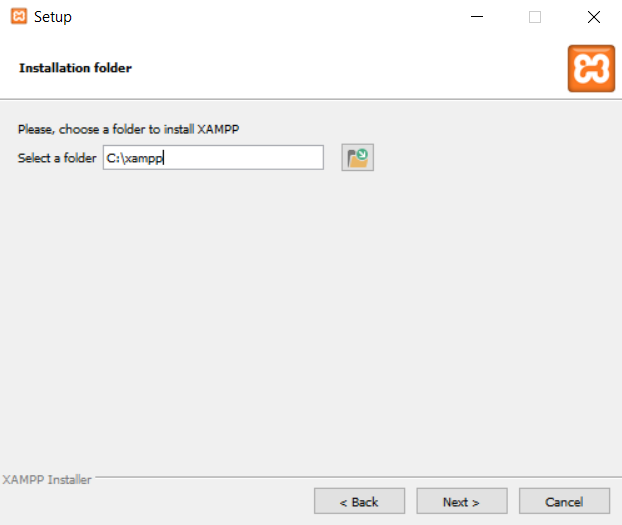
Now here, keep the ticked options as it is and click next. A screen will appear to choose that will ask you to choose the installation location.
By default, it will select drive C with folder name xampp, you can choose whatever drive and folder you like.
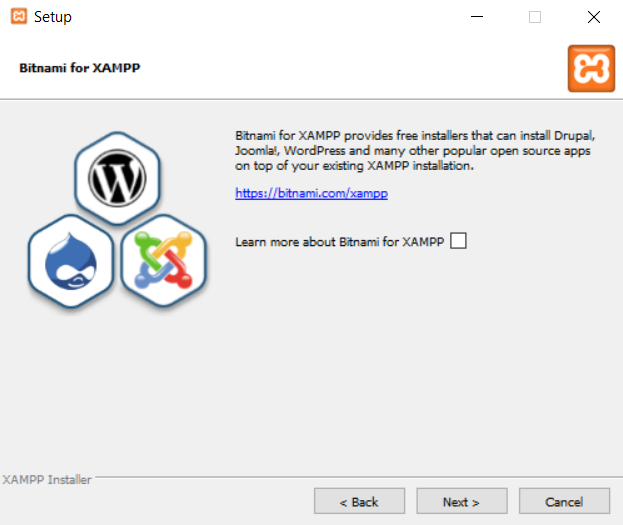
Click next, choose the language, and proceed.
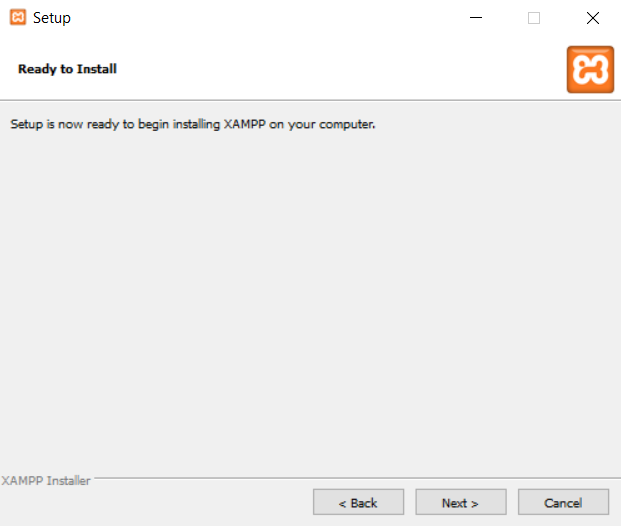
Click next to start the installation.
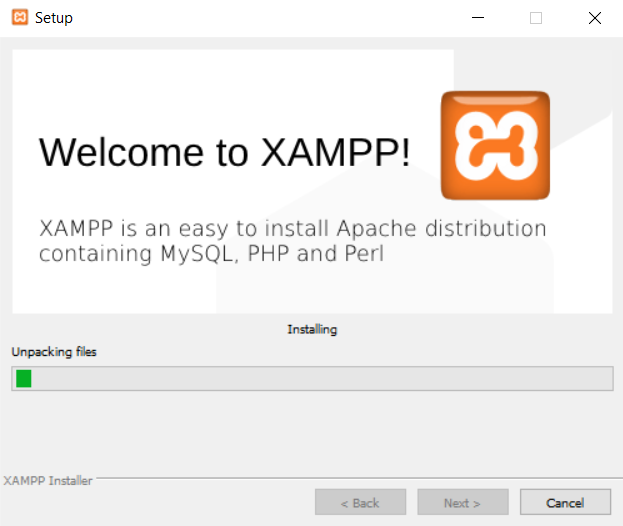
Wait for the installation to complete. Installation time will depend upon your internet connection speed.
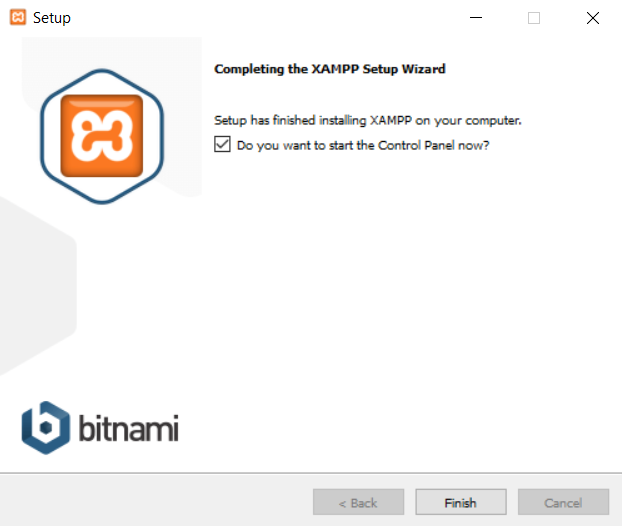
Once the installation is complete, a screen like the above will appear. Do uncheck the checkbox if you don’t want to start the control panel now.
Click finish and you are done.
Quite simple right??
Let us know your experiences with using Xampp in the comments below.
Keep coding!!

