
Running out of space or system getting slow?? Well, one of the solutions is to increase the space in your C drive.
Today, we will look at how we can extend our C drive without formatting our system. We will be using windows 10 and its disk partitioning tools to demonstrate the operation (No software required).
NOTE: Kindly follow each and every step in the mentioned sequence.
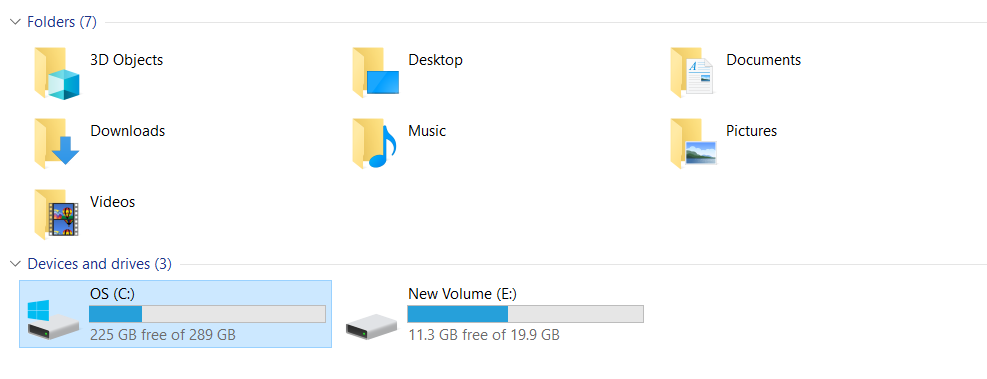
Step 1: Open windows file explorer to see how much space is available in other drives
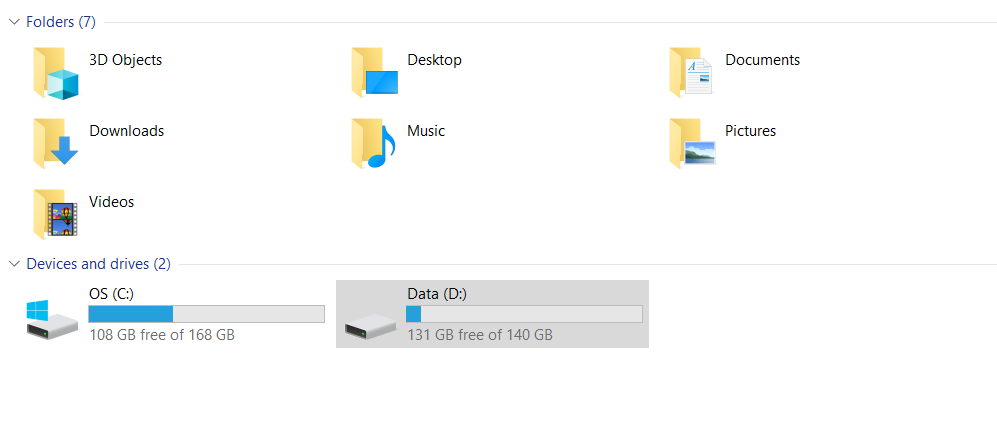
As you can see above, we have 131GBs of free space in our D drive. So here we will be using free space of drive D to extend drive C. You can use any drive having free space.
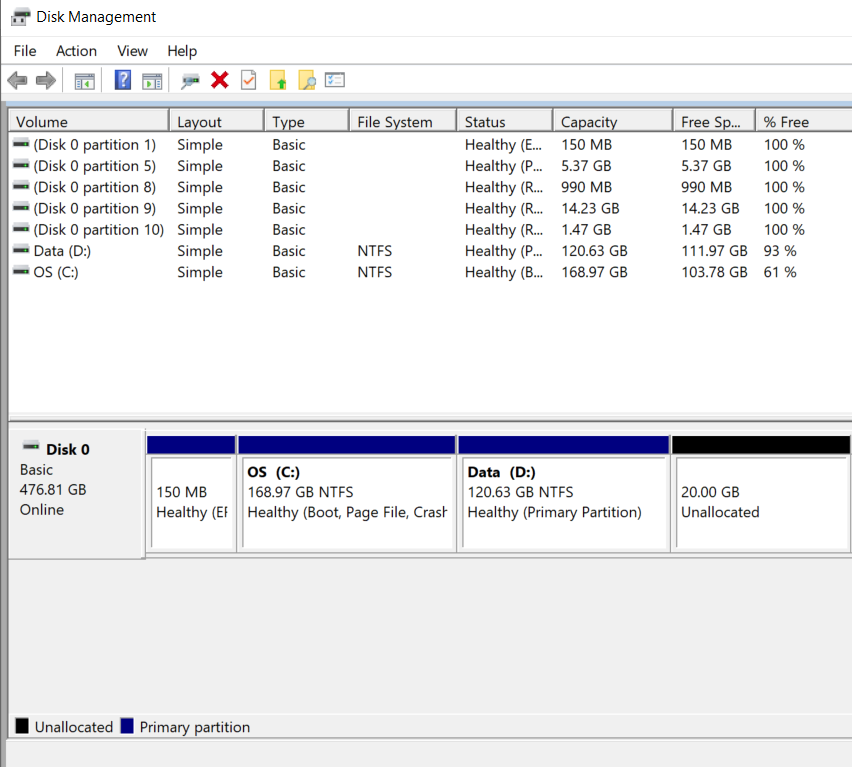
Step 2: Search for “create and format hard disk partitions” in your windows search bar
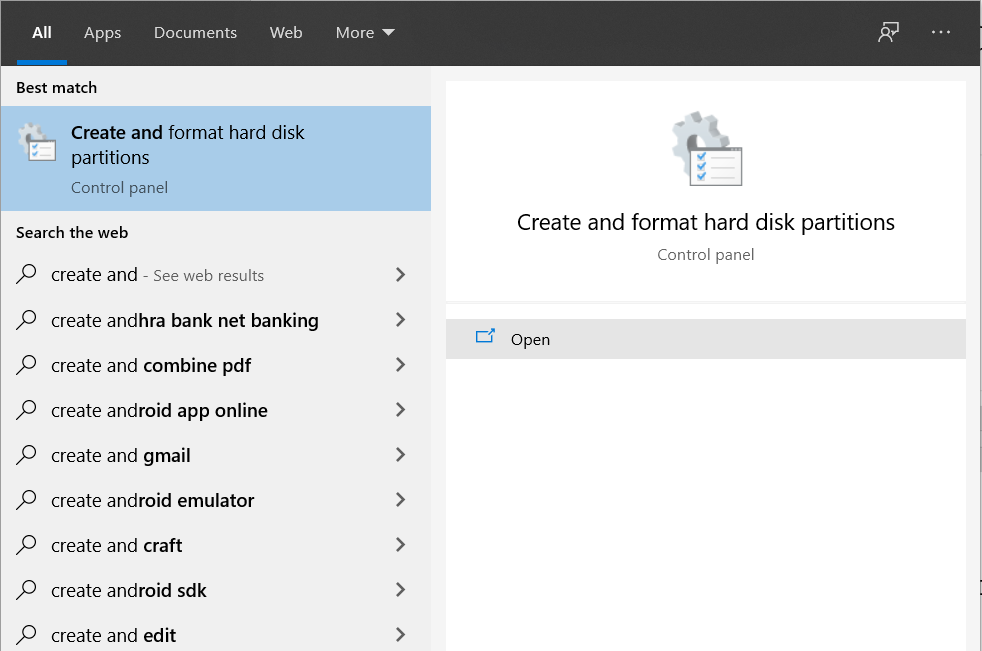
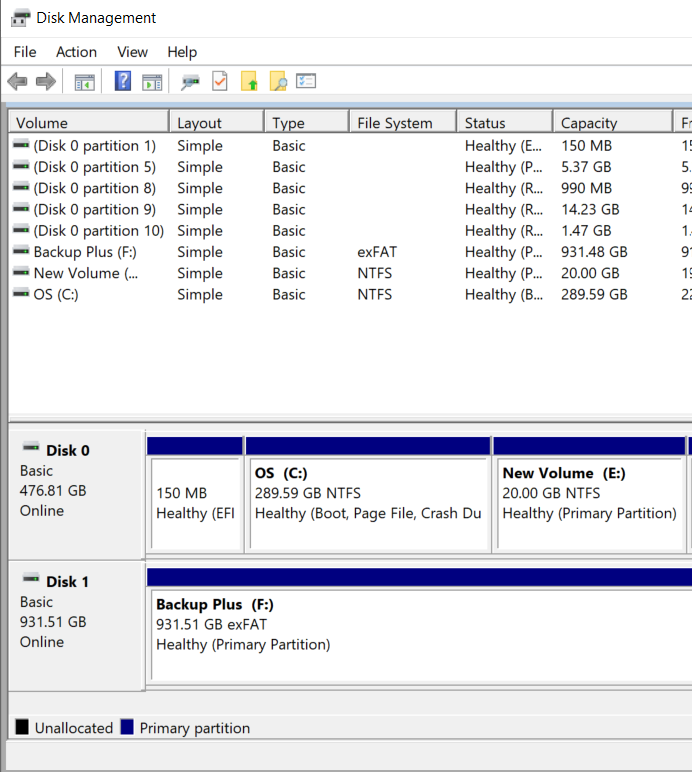
Once you open it, a screen like the below will appear that will list all the drives available in your system.

Step 3: Shrink volume D
Now to extend our C drive, we will have to format Drive D or whatever drive you are using to extend drive C. But that will remove all our data available in Drive D.
So, we will take a full backup of the data in drive D first and then proceed.
You don’t need an external hard drive to do this, we will just shrink drive D and will copy data from drive D to the newly created drive.
Confused?? Just follow along.
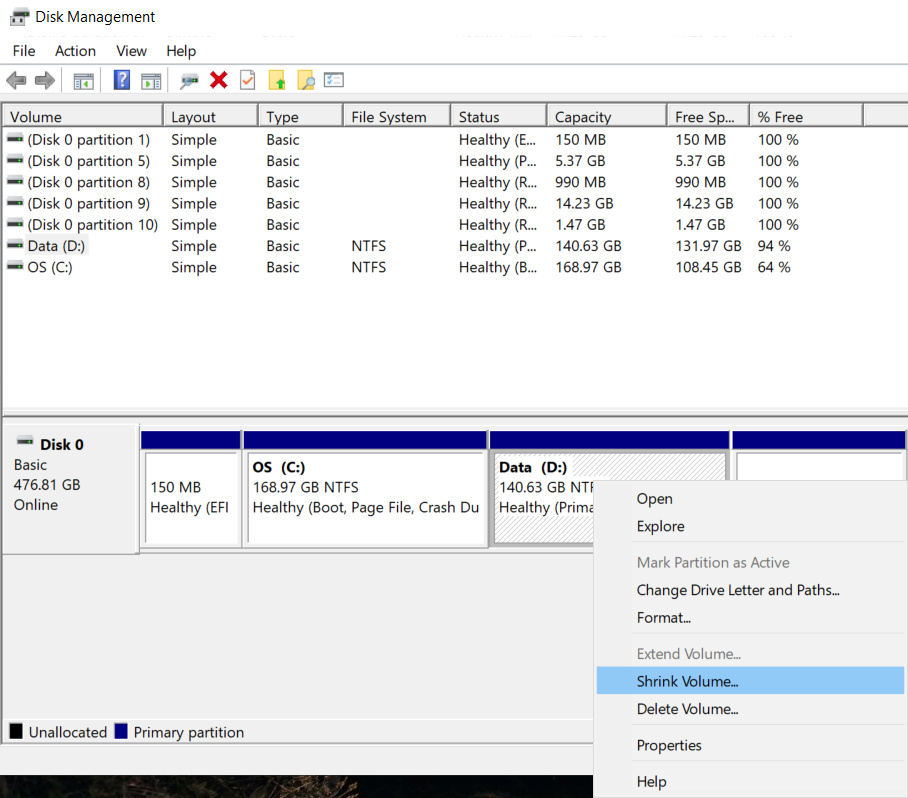
Now, right-click on drive D and choose shrink volume to create a new drive. A screen like below will appear.
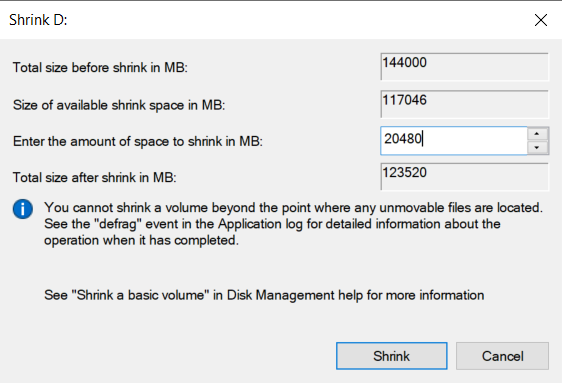
Enter the size of the drive you want to have for your new drive in MBs. Since we are taking out 20GB from D drive we will write 20480 here (1024MB = 1GB). Once you are done, press shrink.
This will create a new volume with 20GB of unallocated space.
Step 4: Make the unallocated drive, a new volume
Now that we have unallocated space of 20GB, we first need to convert it into a simple volume and only then we will be able to move our data from drive D to this one.
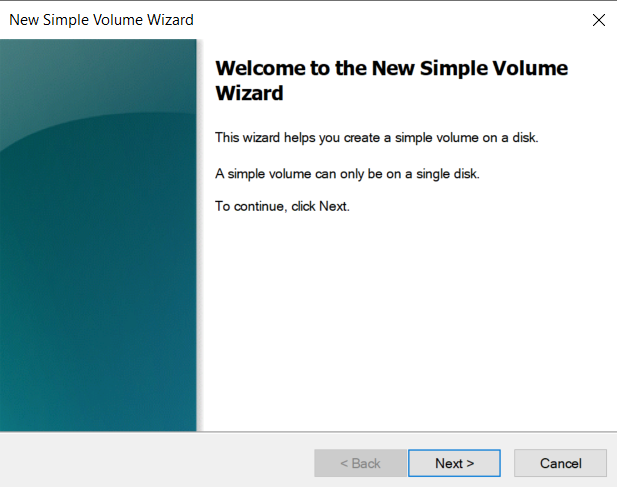
Now right-click on the unallocated drive (20GB) and a screen like above will appear. Click next, choose the letter.
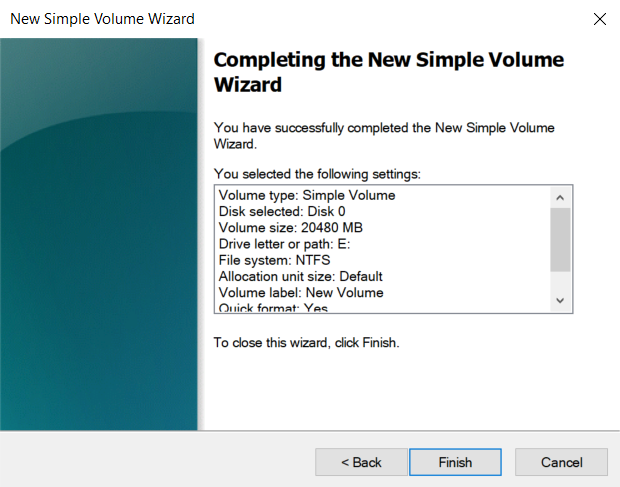
Click finish and the new drive with the chosen letter (E in our case) will be created.
Step 5: Move data from drive D to the newly created drive (Drive E)
Select all the data from drive D and paste it to the drive you just created (Drive E in our case).
Step 6: Delete Drive D
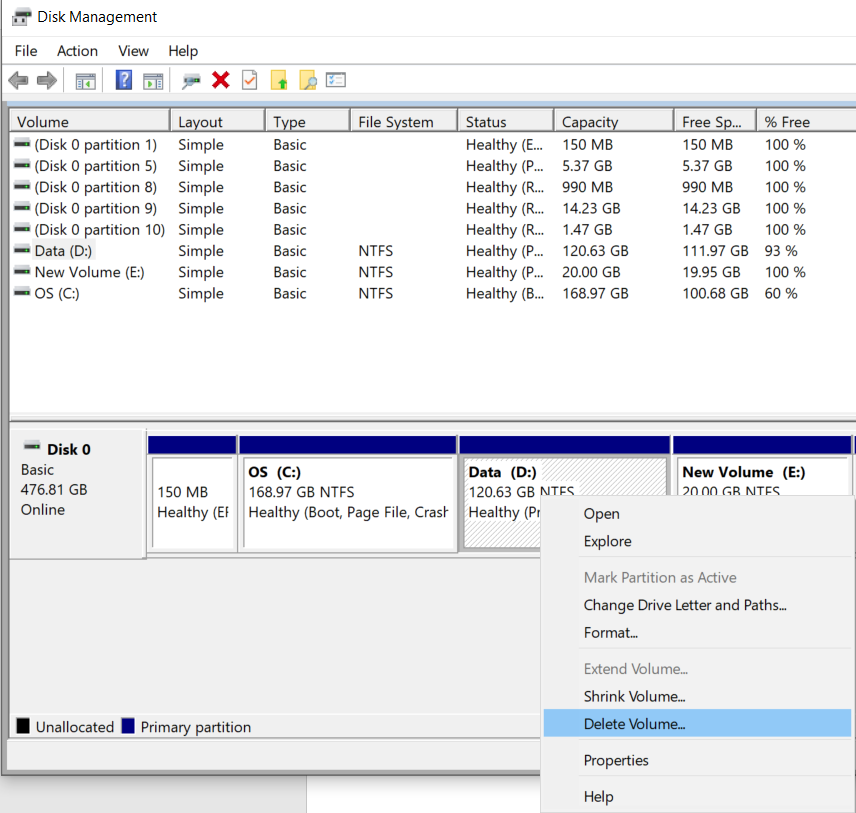
Now after moving data from drive D to E, we will have to format Drive D to add it to drive C.
Right-click on drive D and select “Delete volume” in order to delete it and make it unallocated space.
Remember, This will wipe all your data from drive D so you better take proper backup of the same and follow all the steps mentioned here in sequence.
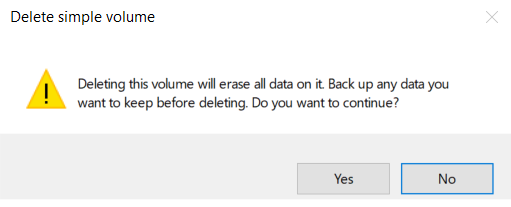
Click yes and the volume will be deleted.
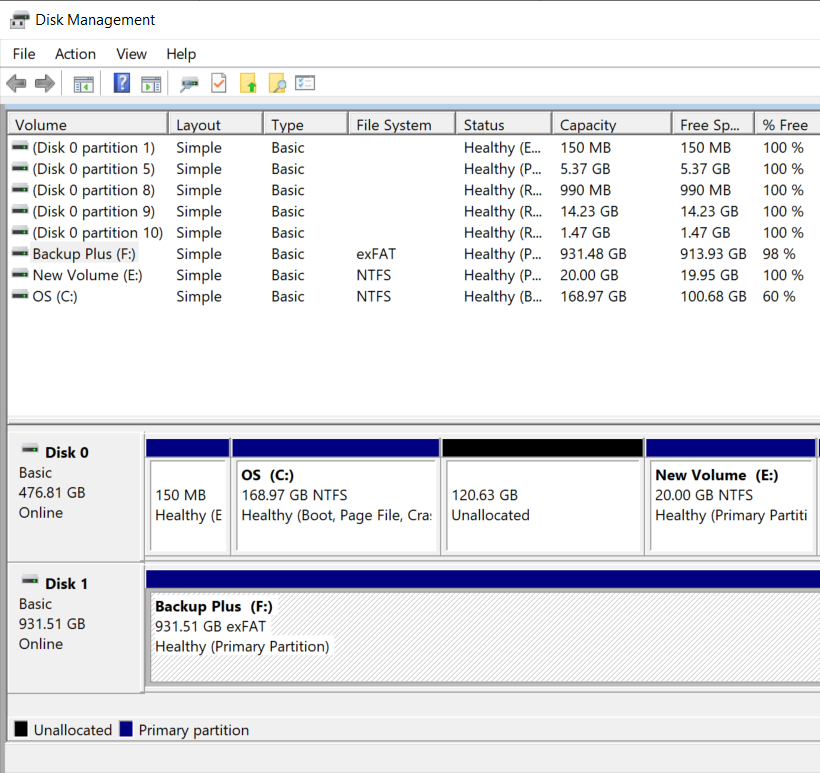
After deleting the drive, It will appear as unallocated which means now it’s ready to be added to drive C.
Step 7: Extend/Increase drive C
The last step is to increase drive C. Right-click on drive C and choose “extend volume”. Choose the unallocated drive from the right side and click ok.
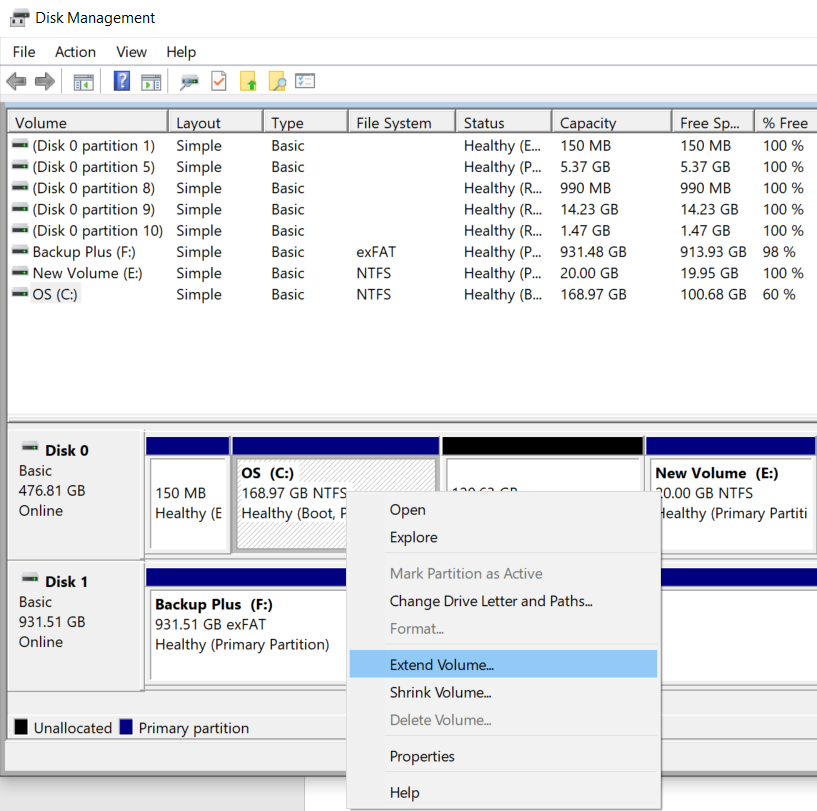
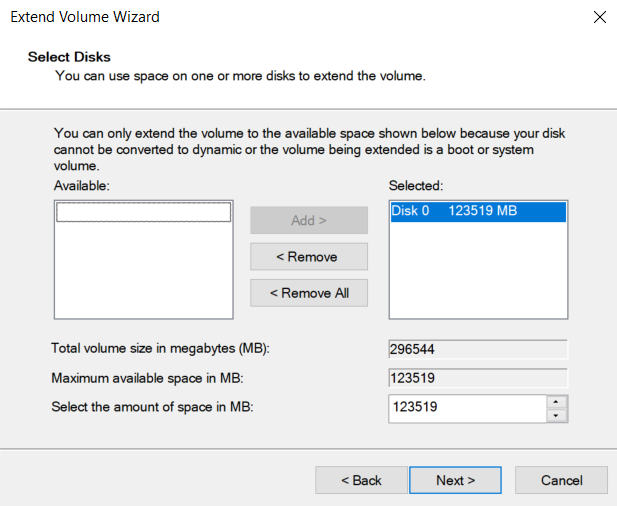
Click next and you are done.
 Drive C is now increased by 121GB.